
Kansas City Metro
Cabinet Painting & Staining in Kansas City
A multi-step process for a smooth, durable, high-quality finish: degrease, full sanding, bonding primer, then sprayed finish coats. Cabinets come back looking factory-made, without replacing a single box.
This is the work I'm most particular about, and it's the process I learned doing custom finishes alongside interior designers — where a single run or a piece of dust in the finish means starting the door over. Cabinets get touched, wiped, and knocked more than any other painted surface in the house, so the prep has to be beyond what walls would ever need.
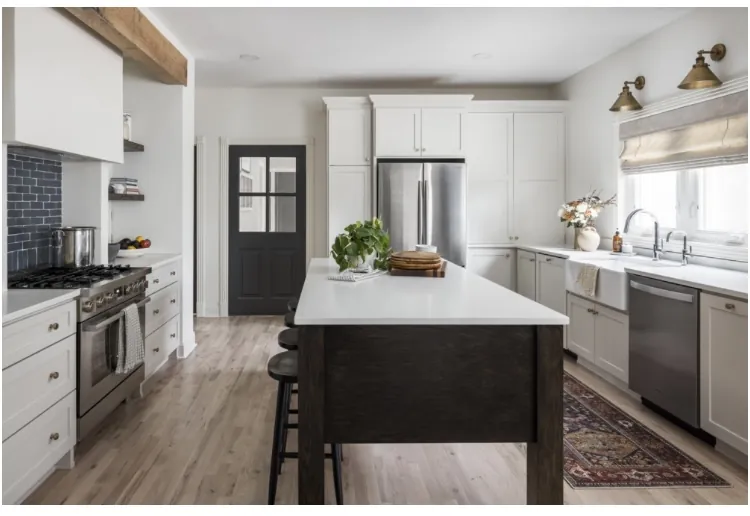
How the work runs
- 1
Consultation
Look at the boxes, the grain, the current finish, and the look you're after.
- 2
Remove & label
Doors, drawer fronts, shelves off; hinges and hardware bagged by location.
- 3
Degrease & sand
Full cleaning, then abrading every surface — the step that decides adhesion.
- 4
Fill grain (if needed)
Open-grain oak filled and sanded for a smooth modern finish.
- 5
Bonding primer
Primer chosen to grip the factory finish and block stains, then sanded.
- 6
Sprayed finish coats
Two coats of cabinet-grade enamel; doors on racks, boxes masked in place.
- 7
Reassemble & adjust
Hardware back to labeled spots, doors aligned, drawers checked, kitchen cleaned.
Why prep decides everything on cabinets
Kitchen cabinets carry an invisible film of cooking grease and hand oil, heaviest around the range, above it, and on the doors either side of the sink. Paint will not bond through that. It will look perfect for two months and then peel off the door edge in a strip. So the first real step is degreasing every surface, then rinsing, then checking again on the panels nearest the stove.
Then the full sanding — every face, edge, rail, stile, and the inside profile of shaker frames. This isn't a quick scuff; it's abrading the existing factory finish, which is usually a hard catalyzed conversion varnish specifically designed to resist things sticking to it. Anything the sander can't reach gets hand-worked or treated with a liquid deglosser. Dust gets vacuumed and tacked off, not blown around.
How the shop is set up in your house
Doors, drawer fronts, and shelves come off and get labeled so every piece goes back exactly where it came from — hinges and hardware bagged by location, not tossed in one box. Those pieces get sprayed on racks in a controlled spray area, on both sides, laid flat or upright to avoid runs at the panel edge.
The boxes and face frames stay on the wall and get sprayed in place. That means real masking: countertops and backsplash, appliances, sink and faucet, floors, adjacent walls and ceiling, doorways sealed off, and the HVAC returns covered so overspray doesn't travel through the house. Air handling matters as much as the paint — a controlled, filtered environment is how a finish ends up smooth instead of gritty.
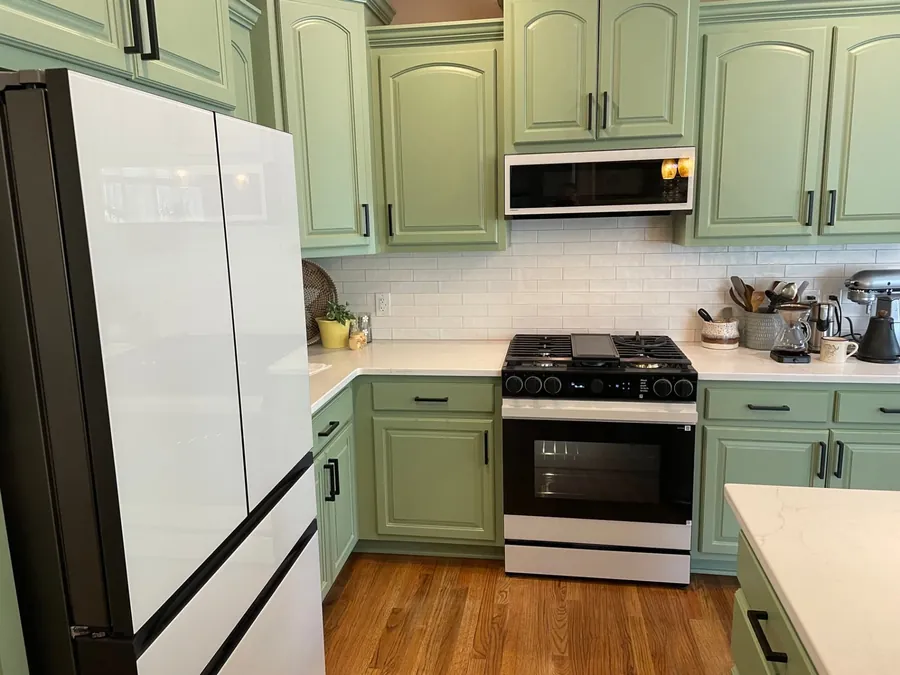
Filling grain, primer, and finish coats
Older oak cabinets — very common in KC homes — have deep open grain. If you want a smooth modern painted look rather than a grain-through look, that grain has to be filled and sanded, sometimes across two passes. It's the step most quotes leave out, and it's the difference between painted oak that reads as new cabinetry and painted oak that reads as painted oak. Either look is valid; I just want you to choose it on purpose.
A bonding primer goes on next, because it's formulated to grip the slick factory finish underneath. Where there's tannin-heavy wood or water staining, a stain-blocking primer keeps it from bleeding yellow through a white finish. Primer gets sanded again, and that sanding is what makes the first finish coat feel like glass.
Finish coats are sprayed — typically two, with a light sand between — in a cabinet-grade enamel that cures hard rather than staying soft the way wall paint does. Hardness is the whole point: soft finishes print fingernails, stick to shelf liner, and block where a door meets the frame. On stain work, the sequence changes — strip or sand back, condition, stain to the sample you approved, then clear topcoats — and the wood species drives how evenly the stain takes.
Timeline, cure, and what daily life looks like
A typical kitchen runs several days to about a week from masking to reassembly, depending on door count, whether grain filling is needed, and whether the island or interiors are included. Most families keep using the kitchen through the project: the sink and appliances stay accessible for most of it, though there are a couple of days where the doors are off and the boxes are wet.
Cabinet enamel is dry to the touch quickly but continues to harden for days after it looks finished. That gap is where good cabinet jobs get ruined. So doors go back on once the finish has set, and I'll tell you specifically how long to leave shelf liner out, avoid stacking dishes directly on shelves, and be gentle about closing doors. Following that for the first couple of weeks is most of what determines how the finish looks in year five.
What I check before I call it done
Every door gets looked at in raking light for dust nibs, runs at the panel edge, and thin coverage on the inside profile. Then hardware and hinges go back to their labeled locations, doors get adjusted so gaps are even and nothing rubs, and drawers get checked for smooth travel with no paint binding at the slides.
Countertops, backsplash, and floors get cleaned of any residue, and we walk the kitchen together with the doors open. Cabinets are the most-inspected surface in a house — I'd rather find the one nib than have you find it.
Before I call it done
- No dust nibs, runs, or sags on door faces or panel edges
- Inside profiles and door edges fully covered, not just the flats
- Grain filled to the look you approved, consistently across every door
- Doors aligned with even gaps; nothing rubbing or blocking
- Counters, backsplash, appliances, and floors left clean
Where we do this work
Cabinet Painting & Staining across the Kansas City metro, with most projects in Johnson County KS, the Northland, and Lee's Summit MO.
Other services
Common questions
Usually yes. Older oak boxes are often solid, well-built material worth keeping. The question is the grain: filled and sanded, they read as smooth new cabinetry, and unfilled the grain shows through. Both are legitimate looks — I'll show you the difference before we start.
Most families keep using the kitchen through the project. Doors and drawer fronts leave for spraying, and there are a couple of days where the boxes are wet and off-limits, but the sink and appliances stay accessible for most of the job.
Not when the prep is done. Peeling on cabinets comes from painting over grease or skipping the sanding, and chipping comes from a soft finish. Degrease, full sand, bonding primer, and a cabinet-grade enamel that cures hard is exactly how you avoid both.
Yes. Doors are sprayed on racks in a contained area, boxes are sprayed in place behind full masking, doorways are sealed, and HVAC returns are covered so nothing travels through the ducts.
Yes. Staining is a different sequence — sand or strip back, condition, stain to an approved sample, then clear topcoats. How evenly the stain takes depends on the wood species, so we sample first rather than guessing.
Same process, same result — vanities, laundry cabinets, built-in bookcases, and mudroom lockers all refinish well.
Ready to bring your color to life?
Tell me about the project and I'll come walk it with you — no pressure, no sales pitch.